I can certainly share the sentiment that there is a time and a place for the “advanced” setup with Vite and TypeScript. If you feel the need to go there, which is nice if you have more than a couple of custom views, then I can recommend using the dotnet template “umbraco-extension”, which gives you a nice RCL project already set up with Vite and TypeScript & optionally includes a dashboard example with API controllers:
dotnet new umbraco-extension --include-example
However, suppose you are in the business of a few custom views. In that case, you can get quite far following the tutorial Creating your First Extension, which has a section on vanilla JavaScript elements:
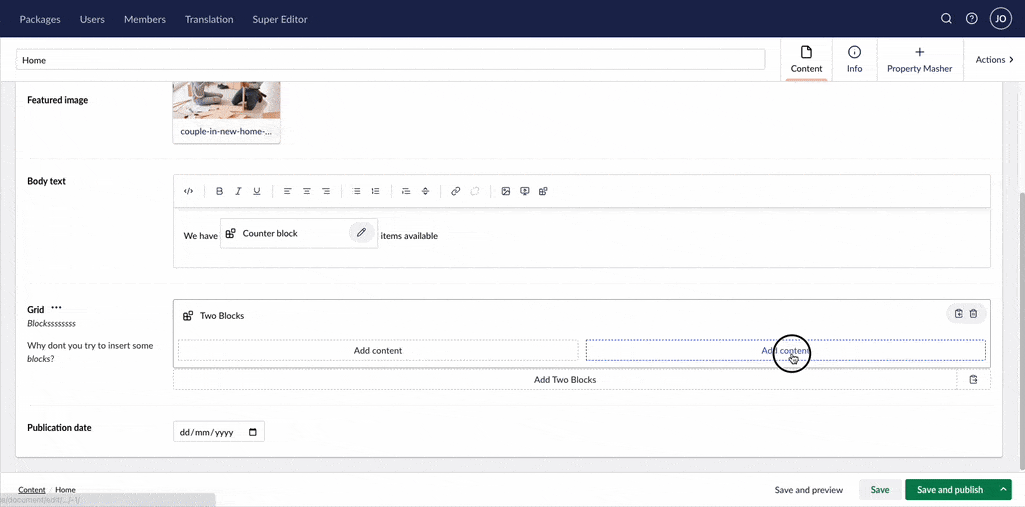
Building on top of that, I have constructed an example for a block custom view here that can show a text and an image field. You need to drop two files in wwwroot/App_Plugins/MyPackage:
First file: umbraco-package.json
{
  "name": "Simple JS Extensions",
  "version": "0.0.0",
  "extensions": [
    {
      "type": "blockEditorCustomView",
      "alias": "my.block",
      "name": "My Block",
      "element": "/App_Plugins/MyPackage/custom-block-view.js",
      "forContentTypeAlias": "imageBlock"
    }
  ]
}
Second file: custom-block-view.js
import { html, css, when } from '@umbraco-cms/backoffice/external/lit';
import { UmbLitElement } from '@umbraco-cms/backoffice/lit-element';

export class BlockCustomView extends UmbLitElement {

    static properties = {
        content: { type: Object },
        settings: { type: Object },
    }

    render() {
        return html`
            <p><strong>Text:</strong> ${this.content?.text ?? 'No text'}</p>
            ${when(this.content?.image?.[0]?.mediaKey,
                    (unique) => html`<umb-imaging-thumbnail class="thumbnail" width="300" height="300" mode="crop" unique=${unique}></umb-imaging-thumbnail>`,
                    () => html`<p>No image</p>`
            )}
        `;
    }

    static styles = [
        css`
            :host {
                display: block;
            }

            .thumbnail {
                max-width: 300px;
                max-height: 300px;
            }
        `,
    ];
}

export default BlockCustomView;

customElements.define('my-custom-block-view', BlockCustomView);
Here is a video showcasing it in action: